Fall-Shaped Cornbread: How to Use Silicone Baking Molds with Our Cornbread Mix
Posted by Nicola Prybell on Oct 5th 2026
This post may contain affiliate links. We may earn a commission on purchases made through these links, at no additional cost to you.
There are plenty of reasons to love cornbread during the fall. It belongs beside a warm bowl of soup, fits right in on a Thanksgiving table and is one of those easy sides that everyone seems happy to see.
But for fall, we decided to make ours a little more festive.
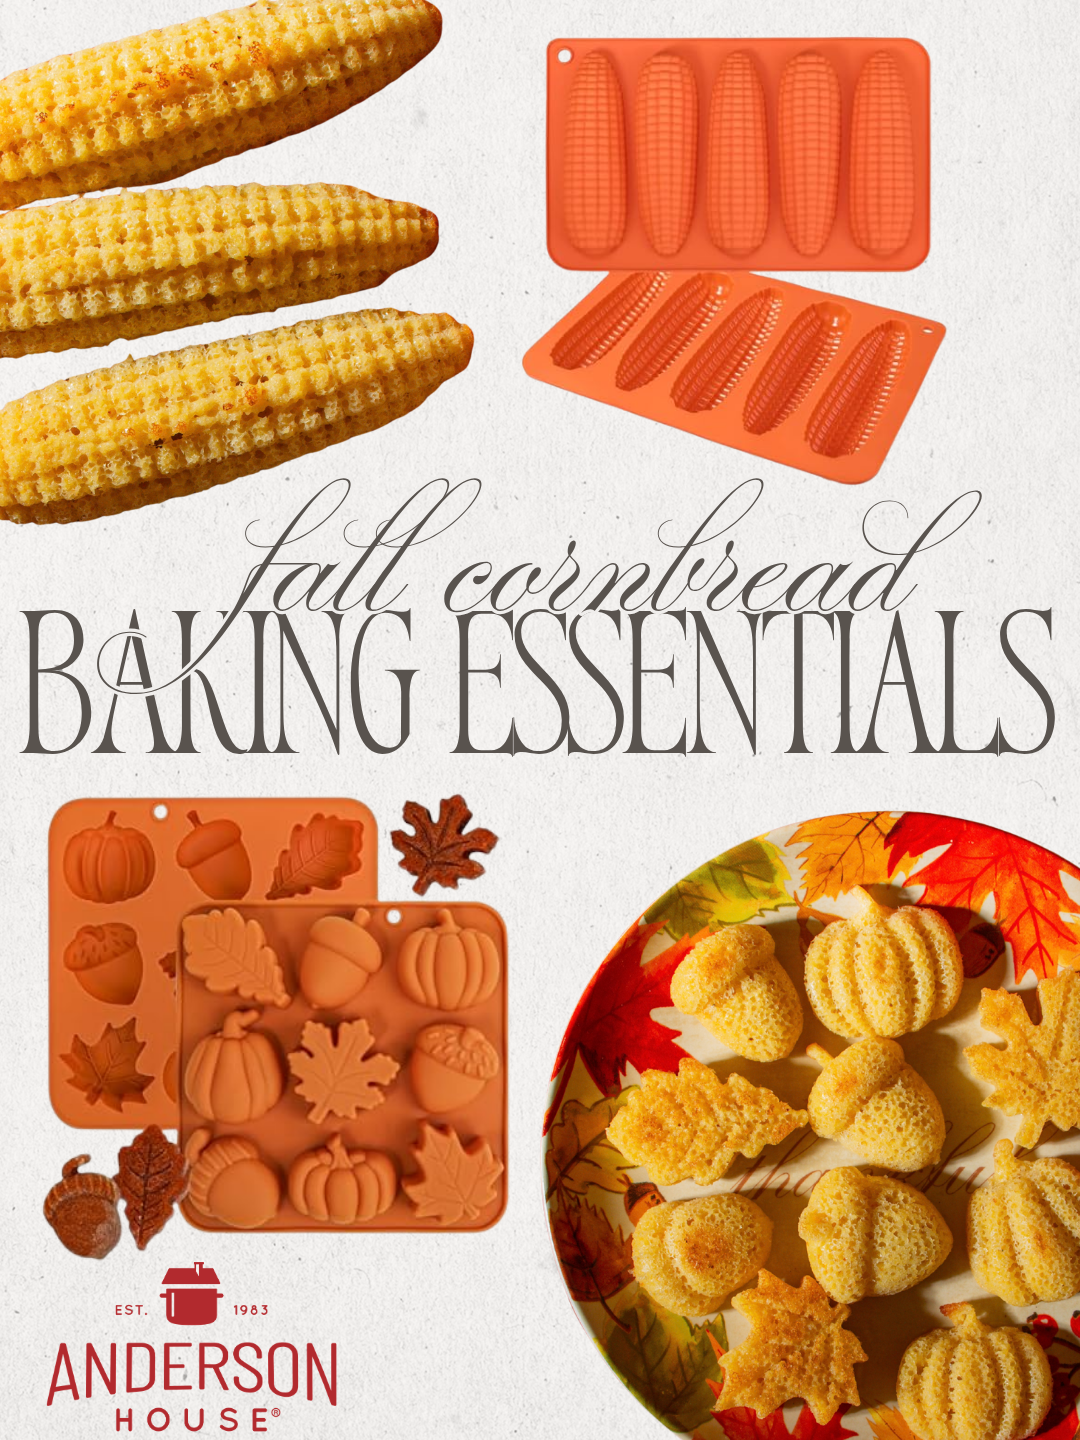
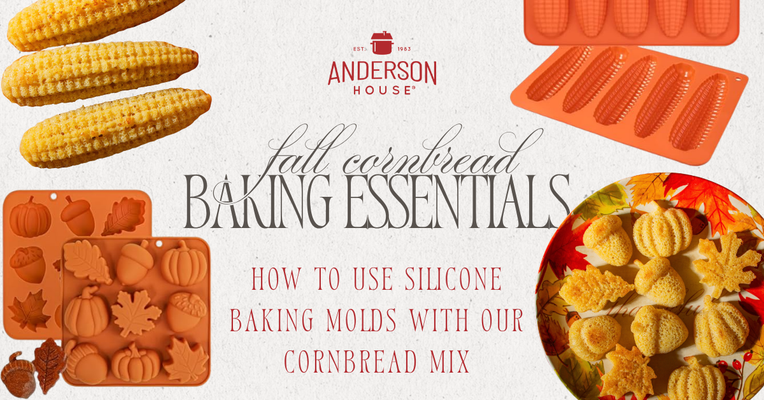
Instead of baking our Appalachian Trail Cornbread Mix in the usual 8 x 8-inch pan, we pulled out a couple of silicone baking molds in seasonal shapes. Think tiny pumpkins, acorns, leaves and even little ears of corn. The result? Individual cornbreads that are just as easy to make, but considerably more fun to serve.
They’re especially cute for soup suppers, Thanksgiving, fall parties and grazing boards, and because everyone gets their own little cornbread, there’s no slicing or serving required.
I used these Silicone Corn Cob Bread Molds and these Silicone Harvest Maple Leaf Acorn Pumpkin Molds.
Shop the Molds I Used
These are the two silicone molds I used to turn our Cornbread Mix into individual fall-shaped cornbreads.
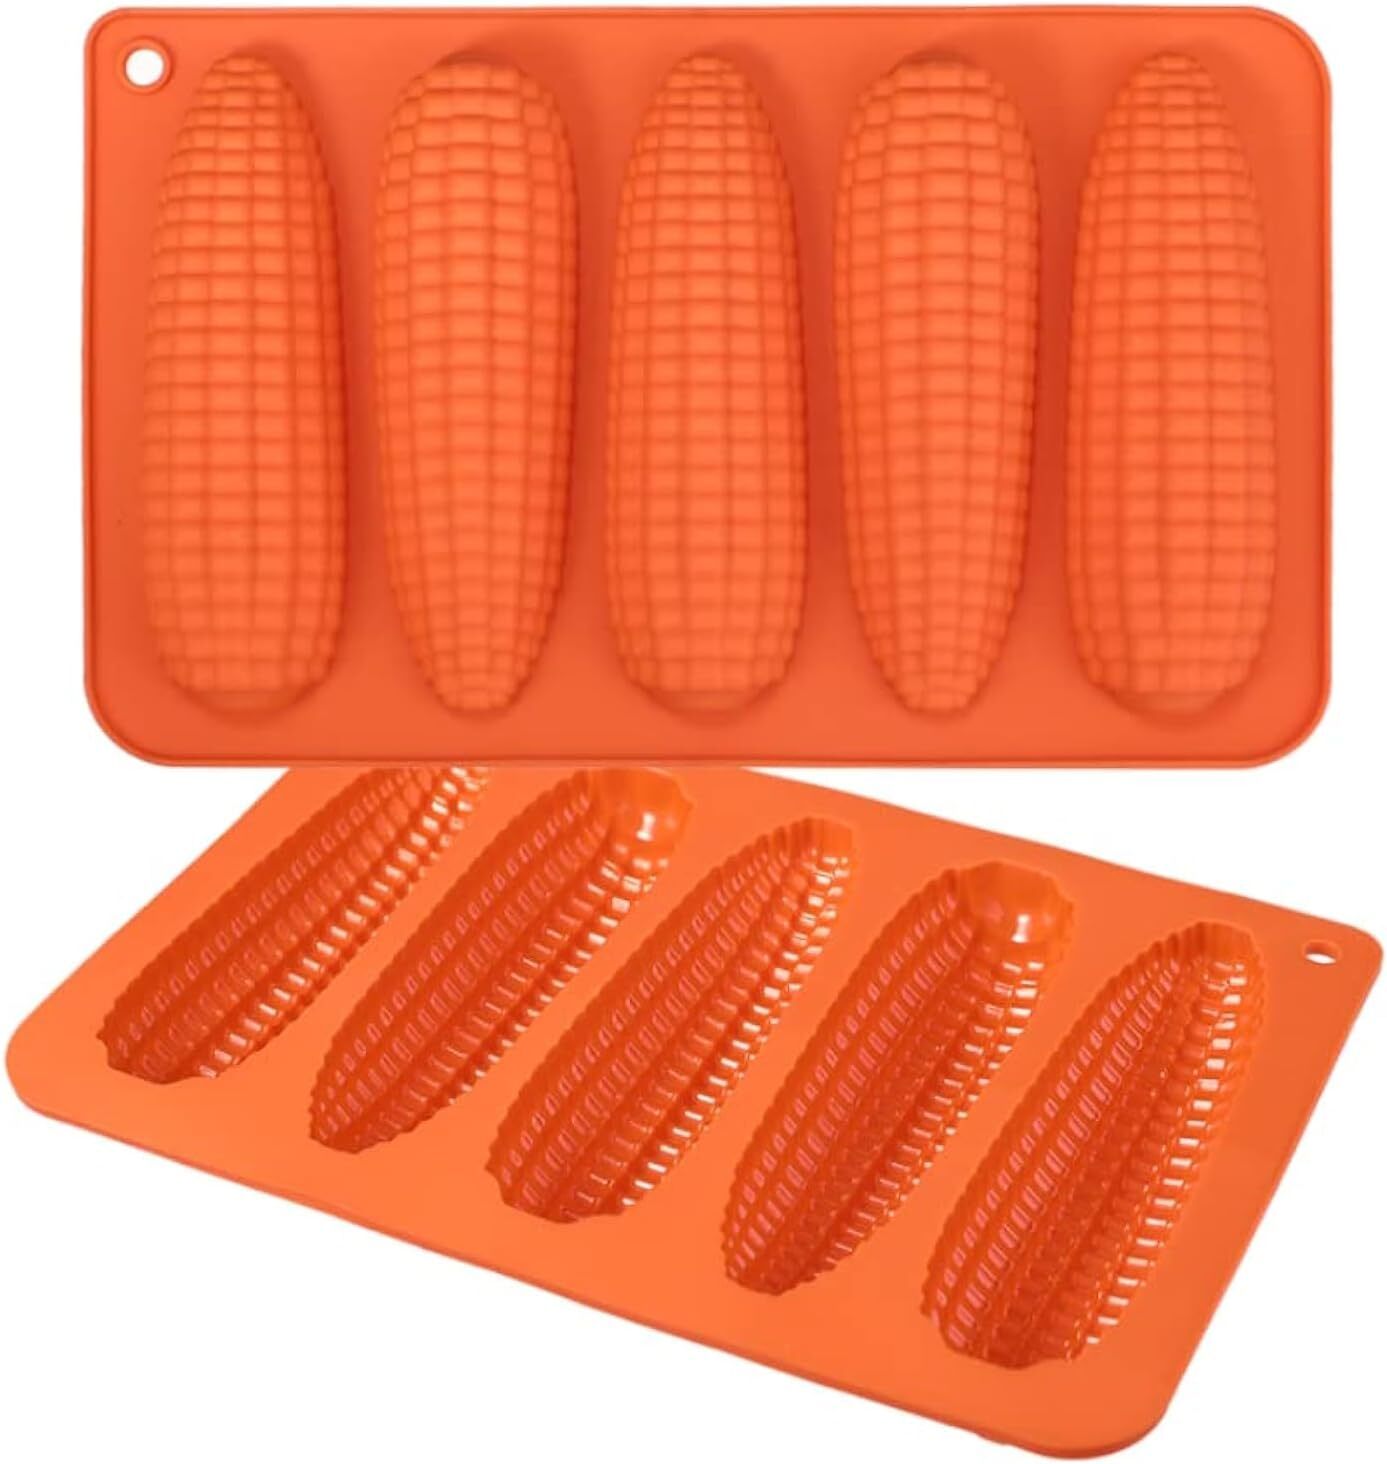
For the Corn Cobs
Corn Stick Silicone Baking Molds
Perfect for making individual ears of cornbread to serve alongside chili, chowder and your favorite fall soups.
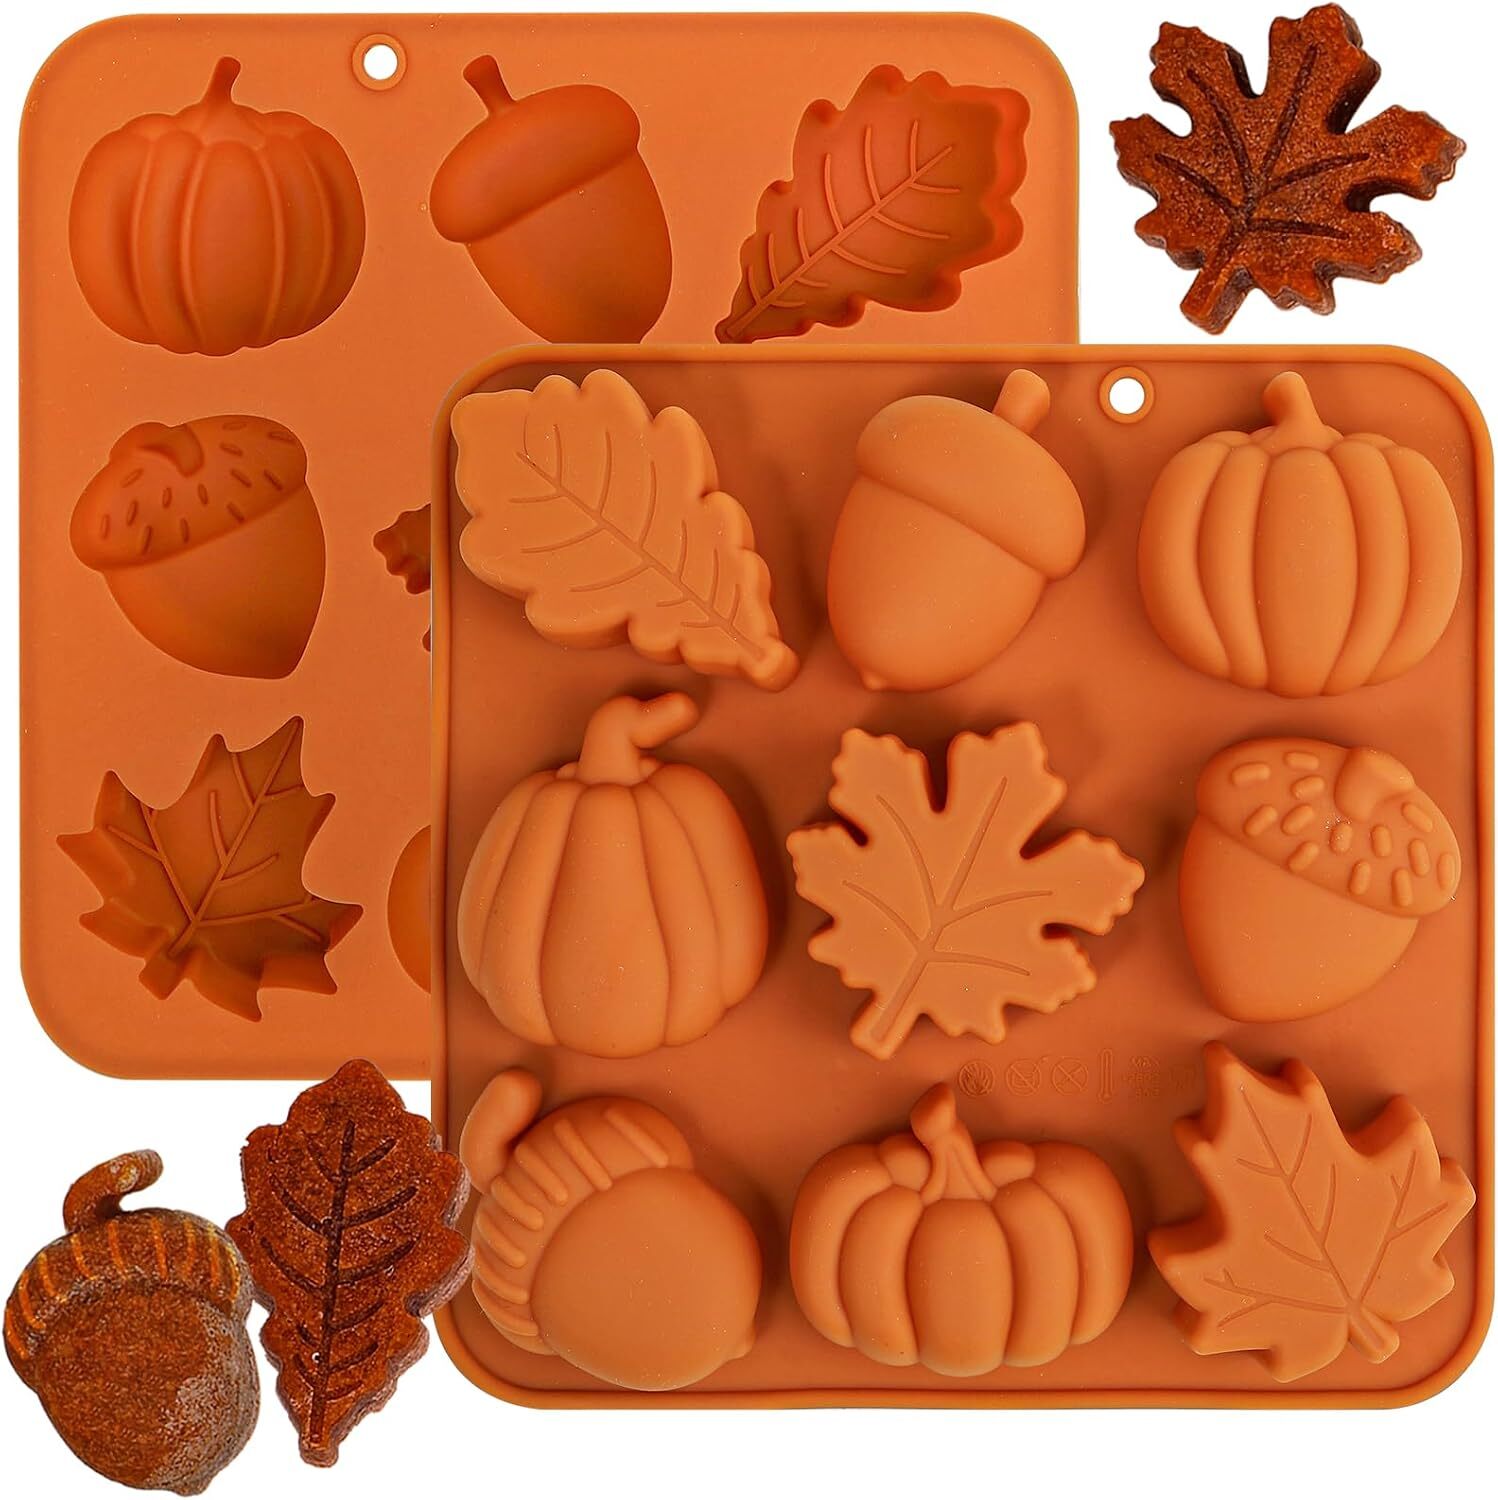
For the Pumpkins, Leaves & Acorns
Fall-Shaped Silicone Baking Molds
Tiny autumn shapes make these especially fun for Thanksgiving, fall parties, grazing boards and seasonal soup suppers.
What You’ll Need
- 1 package of our Appalachian Trail Cornbread Mix
- 3 tablespoons butter
- 1 cup buttermilk (8 oz.)
- 2 large eggs
- Silicone baking molds of your choice
- Baking sheets
One package of our Cornbread Mix was just the right amount for the molds we baked (total of four molds), with no extra batter left behind.
How to Make Cornbread in Silicone Molds
1. Preheat your oven to 425°F.
Before you begin, make sure your particular silicone molds are rated for use at this temperature.
2. Mix the wet ingredients.
Blend the eggs and buttermilk together in a mixing bowl, then stir in the Cornbread Mix.
3. Melt the butter.
Our regular directions call for melting the butter directly in an 8 x 8-inch baking pan. Since there’s no pan to preheat when you’re using silicone molds, we melted the butter in the microwave instead.
4. Brush the molds with butter.
Use some of the melted butter to generously brush the inside of each cavity, making sure you get into all those little ridges and details. This helps with both browning and releasing the finished cornbread from the mold.
Stir the remaining melted butter into the batter as you normally would.
Because some of your butter is now being used to coat the molds rather than going directly into the batter, you could also melt a little extra if you’d like to keep the full amount of butter in the cornbread itself.
5. Place the silicone molds on baking sheets.
Do this before filling them. Silicone is flexible, and a sturdy baking sheet makes the molds much easier to move in and out of the oven.
6. Fill the molds.
Spoon or pour the batter into the cavities, leaving roughly a centimeter of room at the top rather than filling them completely. The cornbread will rise as it bakes.
7. Bake, but start checking early.
The standard baking time for an 8 x 8-inch pan is 18–25 minutes, but these smaller, shallower shapes cook much faster.
Ours were ready in about 10–12 minutes, with the tops lightly browned and a toothpick inserted into the center coming out clean.
Ovens and mold sizes vary, so we recommend checking your cornbread frequently once you get close to the 10-minute mark. If you're baking two trays at the same time, you can also swap their positions partway through baking to help everything brown evenly.
Why We Love This for Fall
Besides being adorable, individual cornbreads are surprisingly practical.
Set a basket of them beside a pot of soup and everyone can grab their own. Add the leaf, pumpkin and acorn shapes to a Thanksgiving bread basket. Arrange a few on a fall grazing board alongside cheeses, spreads and other snacks. Or bring a tray to a fall party without having to worry about cutting a pan of cornbread into neat little squares once you arrive.
The corn-shaped ones are especially fun next to chili, chowder or a big pot of soup. And the tiny fall shapes immediately make an ordinary weeknight dinner feel a little more seasonal.
We’d also argue that this is a particularly good trick when you want your table to look like you put in significantly more effort than you actually did.
And Don't Forget the Butter
Warm cornbread with softened butter will always be hard to beat, but we tried something else with this batch that may have become our new favorite.
Melt a little butter with a drizzle of honey and a pinch of salt, then use it as a dip for the warm cornbread.
Sweet, salty, buttery and especially good with those crisp little edges from the molds.
Pair everything with your favorite soup, and soup season is officially underway.